Generating a report
Report formats and scheduling options may vary according to your FI's settings.
New report page

To generate a report
- In the navigation , click or tap Reports. The Reports page appears.
- In the Create New Reports column, click or tap the desired Report. The desired Report page appears.
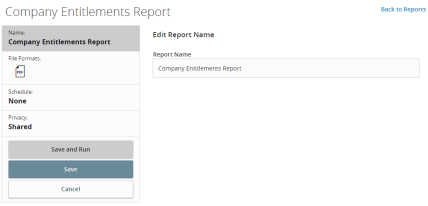
- (Optional) Enter a Report Name.
- Click or tap the desired File Format.
- Click or tap the desired Accounts. You can also click or tap Select All or Clear All to select or clear all accounts. You can also select specific Account Labels.
- (Optional) Click or tap Date Range, then do the following:
- In the Dynamic Dates tab, you can select one of the predetermined date ranges:
- Last Business Day
- Last Week
- Last Month
- Last 30 Days
- Last 60 Days
- Last 90 Days
- In the Specific Dates tab, you can select a custom date range.
- In the Dynamic Dates tab, you can select one of the predetermined date ranges:
- Click or tap Schedule to edit the schedule:
- None: Report is not on a schedule.
- Daily: Report is on a daily schedule.
- Weekly: Report is on a weekly schedule.
- Monthly: Report is on a monthly schedule.
- Click or tap Privacy:
- Private: Private reports are accessible only to the user who created the report.
- Shared: Shared reports are accessible to other company users who share the same User Role.
- Click or tap Save. The Report Scheduled page appears confirming that the report was scheduled.
- Click or tap OK. The Reports page appears with the newly scheduled report.
- When the report appears, click or tap the File Format icon to see the report. The report appears. For large reports, an "In Progress" message will appear while the report is being generated.
Tip: The report will automatically run at the end of the business day for a Daily report and at the end of the week or month for Weekly and Monthly reports, respectively.