Viewing accounts
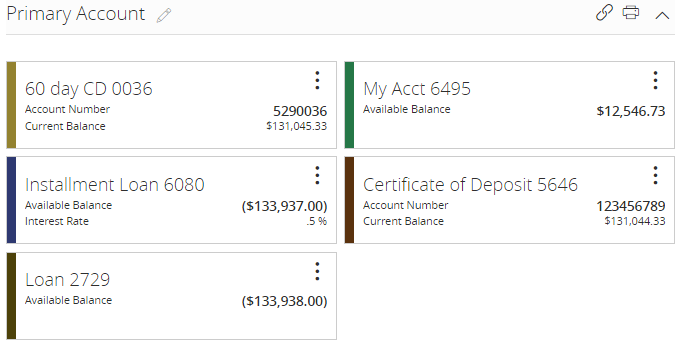
On the Home page, the Accounts area displays every account that has a history. For each account, the account name, the last few digits of the account number, and the balance is listed.
 ) your accounts. Accounts that you favorite will display on the Home page.
Select an account card to view transaction history and account details. Accounts with an External label ( ) are serviced by a third-party vendor and will open a new browser tab or a window overlay to display transaction information.
You can perform the following actions from Options ( ) on account cards depending on the account type and your FI's configuration:
- View Activity—opens the Transactions tab on the Account Details page.
- Nickname Account—opens the Account Nickname window to assign a nickname to the account.
- Move to—opens the Move to window to move the account to an existing group. You can also select Create New Group to move the account to a new group.
Note: If the account is the only account in the current group, the group will be deleted when the account is moved to a new group.
-
Settings—opens the Details & Settings tab on the Account Details page. Use this tab to update the account nickname and to control account visibility settings on the Home page and within Financial Tools.
-
Quick Transfer—opens the Quick Transfer window to initiate a quick transfer. For more information about quick transfers, see To perform a Quick Transfer.
-
Manage Account—opens a new browser tab or window overlay for accounts serviced by a third-party vendor. This option only appears on accounts with an External label (
).